![]()
![]()
If you need to debug an Ada program then GNAT Studio is probably your IDE of choice. But the new user experience of using it is simply dreadful.
This is all down to one factor: that the code must be compiled with debug on in the project preferences; and if it isn't, GNAT studio will not tell you - instead the debugger will behave weirdly, display no output from your program, breakpoints won't work properly, and so on.
These notes relate to GNAT Studio Community 2021 (20210423) hosted on x86_64-w64-mingw32, downloaded and installed as part of gnat-2021-20210519-x86_64-windows64-bin.exe.
To get the hang of it, it's best just to create a Noddy project in order to get this working.
Create a new simple Ada project somewhere on your disk, called Hello, with this main file:
with Text_IO; use Text_IO;
procedure Hello is
begin
    -- Insert code here.
    Put_Line("Hello world!");
    Put_Line("After world!");
end Hello;
Check it compiles and runs.
Before you can debug, you have to initialise the debugger.
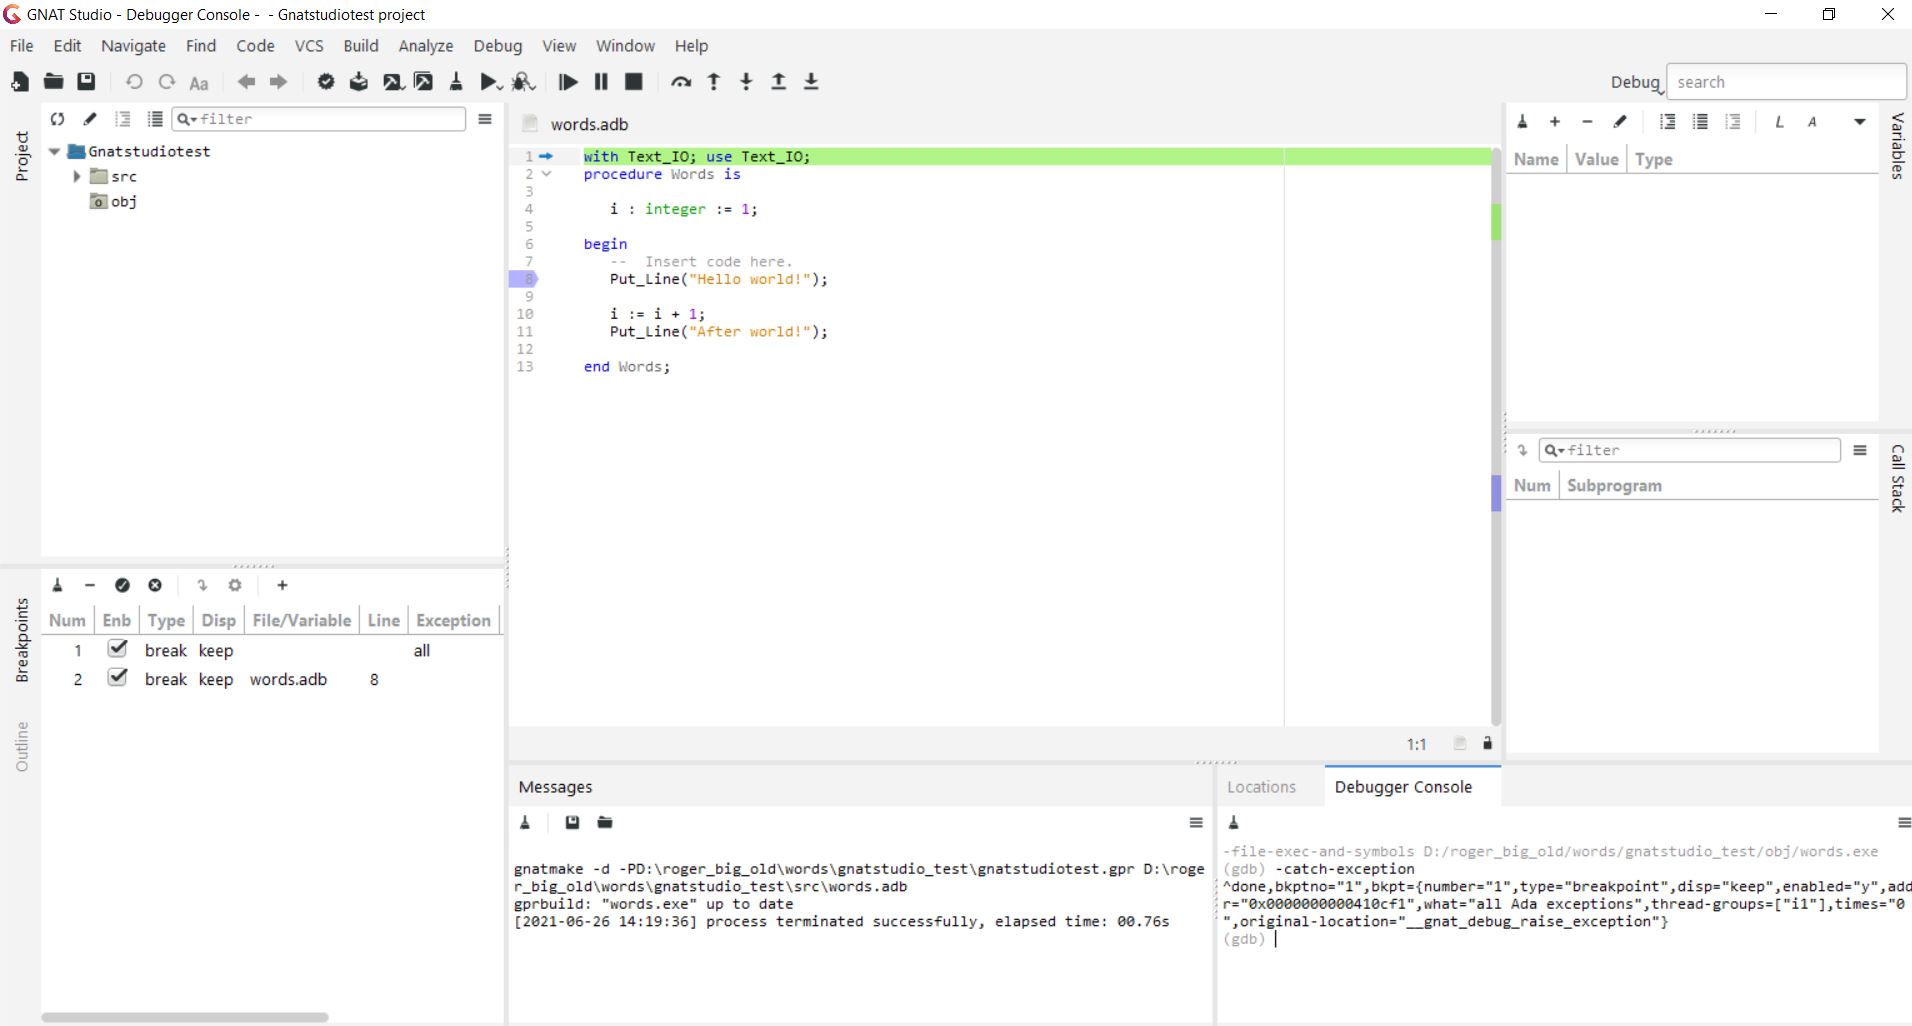
Build ... Project ... Build & Debug ... <your file>. This should cause a green line to appear at the top of the code. UNLESS THIS HAPPENS, nothing will work.
Here's what you see.

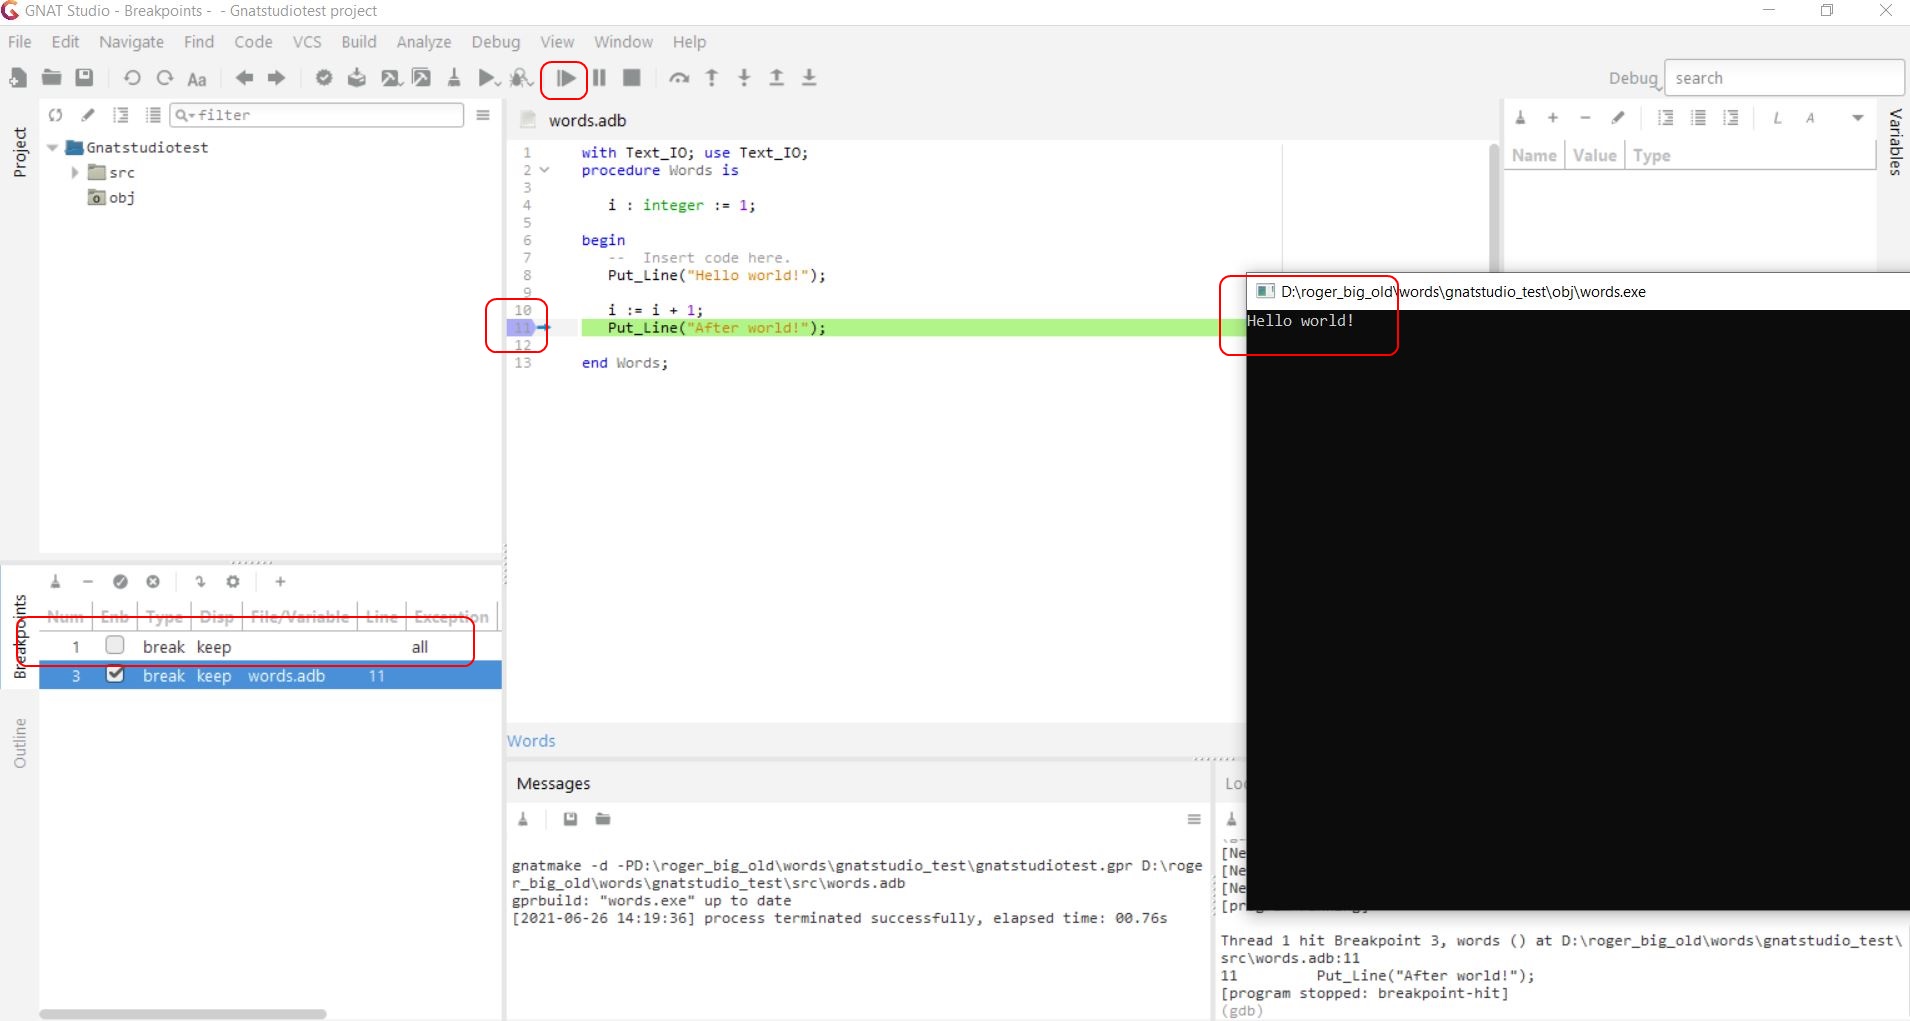
Add a breakpoint by left-clicking in the margin – a purple tag will appear. Remove it by left-clicking again.
If you have done it right, the code will run and halt with another green
line. This time it will be at the first line of code. You can then F5 to step
down (F6 to step over), and debug normally.

The command line output etc will appear in a windows command window that pops up separately (visible above).
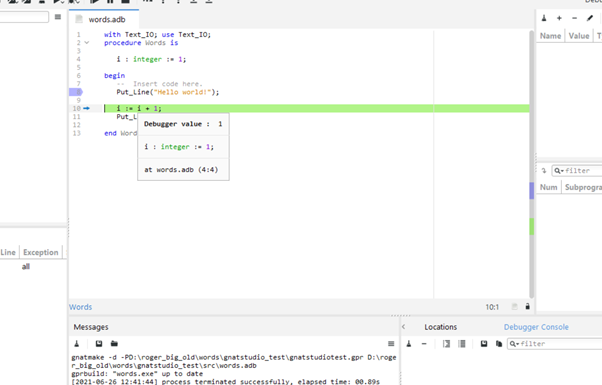
You can hover over the variables and see the values.

And... you're away.
![]()
Written 26th June 2021.
![]()
This page has been online since 26th June 2021.
![]()
Return to Roger Pearse's Pages